

Pop‑Up Market Fulfillment Virginia: Why Pre‑Printed Gang Sheets Win
Running successful Pop Up market Fulfillment Virginia vendors rely on comes down to speed and space. You want custom shirts in your buyers' hands right away without hauling half your workshop onto the sidewalk. Loading pre-printed DTF Nova transfers into a reliable clamshell press solves that problem immediately.
This setup keeps your workflow clean, colors sharp, and lines moving.
Pre-printed Gang Sheets keep your on-site apparel prints consistent while freeing you to talk to shoppers and close sales.
Why Choose Pre‑Printed DTF Nova Gang Sheets?
Bringing direct-to-garment printers or screen printing gear to an outdoor event is asking for trouble. Liquid ink clogs in high humidity, printheads drift out of alignment during transport, and bulk machinery eats Up valuable table space. Pre-cured transfers skip the mess entirely. The chemical curing happens beforehand in a controlled facility, so you only handle clean film and dry garments at the tent.
Step‑by‑Step Checklist: Pre‑Event Prep
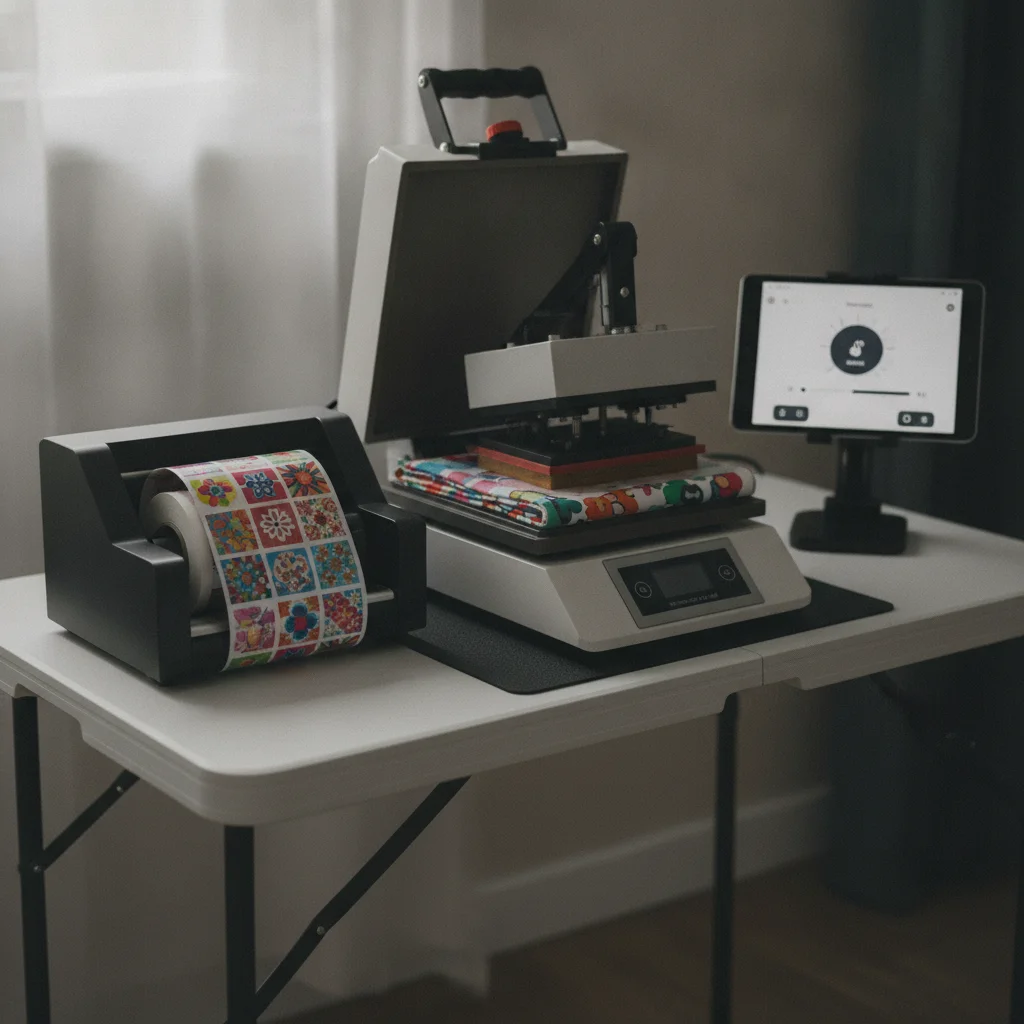
Mornings move fast once market gates open. Pack your Kit the evening before so you never scramble for tape while customers wait.
- Order Sheets early. Go to DTF Transfers – order your custom Gang Sheets and select sizes fitted to your graphics. You can Gang multiple designs onto 12-inch square formats and stack them flat.
- Test your press. Fire Up your portable unit on a scrap blank to verify temperature stability before leaving home.
- Pack practical accessories. Pack heat-resistant thermal tape, a 30-second timer, microfiber cloths, a sturdy clipboard, and printed order tickets with design QR codes.
- Label every transfer. Mark SKU names and graphic dimensions on the non-printed film margin so assistants grab the right graphic every time.
- Map your footprint. Keep your heat press centered along the back wall, away from reaching hands, with your order desk to one side and apparel racks on the other.
- Prepare backups. Pack an extra press power supply or a secondary battery station to guard against outdoor power drops.
Thorough preparation the night before turns a high-pressure booth into a calm, profitable Pop-Up shop.
How Do I Set the Perfect Heat‑Press Temperature for On‑Site Finishes?
Target an operating temperature of 350 °F. Check the platen with an infrared surface thermometer to ensure the heat matches your digital readout. Press the front graphic for 8 seconds, then hit the reverse side for 6 seconds. If ink starts blistering, dial back heat by 10 °F and run a quick test strip.
Outdoor wind strips heat off exposed metal platens faster than indoor air. Set Up folding canvas or rigid foam draft shields around three sides of your press to stop gusts from cooling the platen mid-cycle.
Power Management and Booth Logistics for Outdoor Venues
Heat presses pull heavy electrical current the moment their heating elements fire. Ignoring your electrical setup risks tripped venue breakers or sudden voltage dips that ruin garments halfway through an 8-second press.
Plan your electrical draw before setup so heating elements never starve for power during rush hours.
Check with venue coordinators well before event day to see if they assign dedicated 20-amp drops or expect self-supplied inverter generators. Avoid sharing circuits with food vendors running commercial refrigeration or espresso machines. Route all cords along perimeter walls, anchoring them under heavy-duty rubber ramps or commercial gaffer tape to keep aisles safe.
On‑Site Workflow: Turning Orders Into Revenue
When lines form, stick to a strict station-by-station rhythm. Moving each garment through distinct steps keeps mistakes from compounding during foot-traffic surges.
- Scan the slip. Scan the customer's QR ticket to pull the requested size and artwork instantly.
- Seat the blank. Smooth the shirt flat across the platen, align the trimmed transfer with the adhesive side facing down, and tape corners if needed.
- Press on schedule. Close the clamp and maintain steady pressure for the exact 8-second press window.
- Cool down. Place the warm garment on an aluminum shelf for 30 seconds to set the adhesive before peeling.
- Pack the piece. Fold the shirt, slip it into clear poly wrap, and affix the order ticket with the customer's details.
- Ring Up and notify. Process payment on your Mobile POS and trigger an automated pickup text with a receipt code.
A fixed pressing routine keeps production under two minutes per customer and prevents booth bottlenecks.
Can I Manage Inventory with a Mobile DTF Kit?
Keep a simple live inventory sheet on your phone or tablet. Deduct transfers as you press them, setting an alert whenever a design drops below two units. When blanks start running low in medium or large sizes, steer shoppers toward alternative cuts or colors before their choices sell out entirely.
Hypothetical Scenario: Running a 4‑Hour Community Pop‑Up Market
Consider a typical artisan market running from 10:00 AM to 2:00 PM. A solo vendor stocks 60 blank tees and five DTF Nova Gang Sheets carrying assorted graphics. Every press cycle uses an 8-second heat application, a 3-second moisture purge, and 30 seconds on a cooling tray.
Foot traffic spikes between 11:00 AM and noon, bringing 15 custom orders inside one hour. The vendor organizes production into five overlapping stages:
- Stage A (Intake): Logging design selections and generating order slips takes roughly 45 seconds per shopper.
- Stage B (Pre-press): Clearing ambient fabric moisture takes 15 seconds per blank.
- Stage C (Application): Lining Up transfers and clamping the press takes 20 seconds.
- Stage D (Cooling and Peeling): Items rest on an aluminum rack while the operator loads the next shirt into Stage B.
- Stage E (Handoff): Folding, wrapping, and labeling takes 25 seconds at pickup.
Overlapping prep and cooling cycles lets a single operator finish 15 on-demand shirts in just 25 minutes of active production.
Troubleshooting Common On‑Site Heat Pressing Challenges
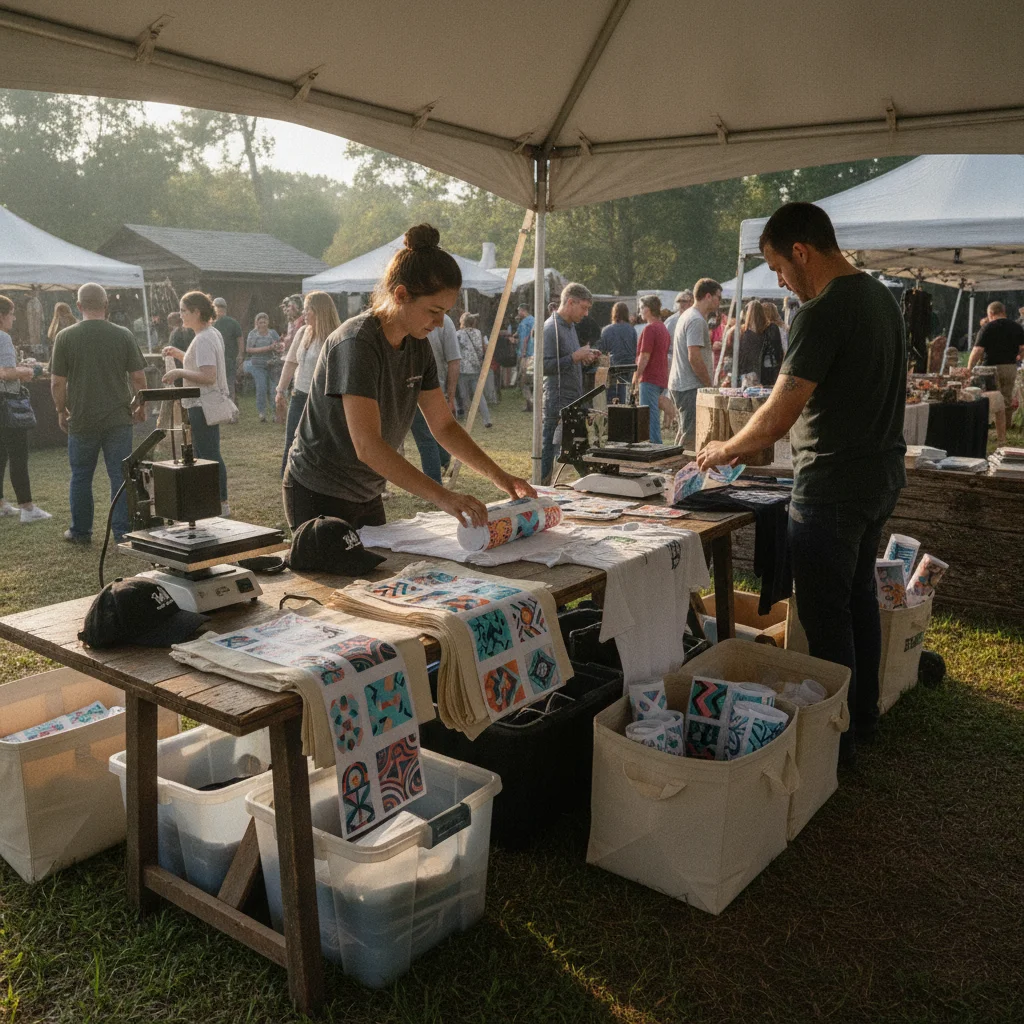
Outdoor Markets bring shifting weather and imperfect work surfaces. Knowing how to fix transfer flaws on the fly keeps your waste rate near zero.
Carrying pre-cut pressing pads and running short pre-presses prevents almost every common on-site bonding failure.
Handling Unexpected Fabric Moisture
Morning mist and heavy humidity settle directly into cotton fibers. Clamping a transfer directly over damp cotton turns that water into steam pockets, causing tiny blisters in your print. Give every garment a quick 3-to-5-second blank pre-press before setting down your transfer. This dries the weave and flattens out wrinkles in one motion.
Managing Uneven Pressure Across Seams
Hoodie pockets, thick collar ribs, and canvas bag seams hold the press platen off the graphic area. Slip a high-density silicone foam pad inside the garment. Raising the print zone above surrounding seams directs full clamping pressure across every millimeter of transfer film.
Post‑Event Follow‑Up: Turning One‑Time Buyers into Repeat Customers
Packdown is only half the job. What you do with sales data during the next 48 hours determines whether buyers return for future drops.
- Tally sales reports. Pull your POS numbers, check remaining blanks against used transfers, and pinpoint your top two graphics.
- Email discount codes. Send a short thank-you note with a discount code redeemable on your online storefront.
- Reorder stock. Submit new Gang sheet orders for winning designs and drop graphics that failed to move.
- Publish live event photos. Post images of finished gear to social channels and review the DTF Nova Blog – tips for makers and small businesses for display ideas.
- Scout upcoming Markets. Check the SBA guide to Pop‑Up market research and competitive analysis to evaluate foot traffic for your next venue.
Reviewing sales numbers right after pack-out ensures you only reorder proven graphics that drive profit.
Frequently Asked Questions
Do I need a large heat press for Pop-ups? No. A compact 12-inch portable clamshell press handles standard chest graphics while keeping your vehicle load light.
Can I print my own designs on the spot? Yes, but carrying pre-printed transfer Sheets cuts booth clutter, saves power, and stops liquid ink spills before they happen.
How many designs fit on a single Gang sheet? A standard 12-inch square holds multiple small graphics, or Up to eight pocket-sized badges, without crowding your layout.
What if a sheet gets damaged during transport? Keep transfers flat inside rigid archival folders. If a sheet creases, pull a replacement from your backup sleeve.
How do I handle returns at a Pop-Up? State your 30-day return policy clearly at the register, log refunds through your digital POS, and keep paper slips handy for walk-Up exchanges.
What is the best method to store pre-printed Gang Sheets during outdoor events? Place Sheets inside a sealable plastic archival case away from direct sun, windblown dust, and ground humidity.
How can I prevent garment scorch marks when using a portable press? Cover garments with protective parchment Sheets and double-check that platen heat never spikes past 350 °F.
Can I apply DTF transfers to synthetic or blend garments on site? Yes. DTF transfers stick cleanly to cotton, polyester, blends, and canvas. Trim a second or two off press times when working on delicate synthetics.
How should orders be organized if multiple customers request the same graphic simultaneously? Pre-cut duplicate graphics during morning downtime and stack garments in first-in, first-out bins behind the press station.
Ready to Get Started?
Order a DTF Nova sample pack, book a consultation with our production team, and turn your next Virginia Pop-Up into a fast, profitable printing station.