

Running a systematic protocol to QC DTF shipments Virginia protects your print shop from ruined blank garments, missed deadlines, and lost profit margins. When your package arrives, take exactly five Minutes at your Receiving table to inspect adhesive melt, white underbase registration, ink curing, carrier film stability, and dimensional scale before heating a single press. Catching print discrepancies at the intake stage guarantees that every gang sheet or UV sticker ready for production will apply cleanly and endure repeated wash cycles.
Intake Rule: Never stage a delivery straight to your active production queue without an isolated Receiving inspection. Verifying incoming print quality at your unpacking table prevents thousands of dollars in wasted apparel and customer dispute write-offs.
Why Virginia Print Shops Need an Intake QC Protocol: Qc Dtf Shipments Virginia Explained
Apparel decorators across Virginia face unique logistical and operational pressures. Peak humidity in Roanoke, Richmond, or Virginia Beach fluctuates dramatically across seasons. Extreme atmospheric changes can alter how thermoplastic hot-melt powder behaves in transit or storage. Moisture absorption can quickly compromise carrier film performance if rolls sit unchecked in warehouse shipping bays.
Many production managers assume that a trusted vendor eliminates the need for Receiving Checks. That assumption is an expensive gamble. Even with premium equipment, shipping carriers subject parcels to crushing forces, temperature spikes, and rough handling. Once You heat-press an incorrect print onto an eighty-dollar fleece blank or a corporate client jacket, the financial liability Transfers entirely to You. Inspecting Transfers immediately creates accountability and leaves You plenty of buffer time to solve file or delivery anomalies.
The technical foundation of transfer chemistry requires active verification. As detailed in the Direct-to-Film (DTF) printing Wikipedia article, DTF Transfers rely on a balanced union of pigmented aqueous inks, specialized PET release films, and polyurethane hot-melt powders. If any link in that manufacturing chain fails, the graphic will lift, crack, or peel after the first laundry cycle. Taking five Minutes to review physical goods keeps your equipment running smoothly and your shop reputation intact.
The DTF Nova Receiving Checklist: 7 Checks in Under 5 Minutes

Set up an inspection area with bright overhead lighting, a precision steel ruler, and a clean flat table. When a courier drops off your package, run through this seven-point workflow. It takes Under five Minutes per box and yields immediate answers.
1. Outer Packaging & Transit Integrity
Start your inspection before You even break the tape. Inspect the shipping carton or rigid mailing tube for corner impacts, crushing, or punctures. Virginia delivery routes often involve unpredictable weather patterns, so check for water damage, soft cardboard, or moisture ingress along the seams. If a tube is creased across its midpoint, the PET film inside might carry an irreversible micro-crease. Document visible exterior trauma with a Quick smartphone photo before slicing the box open.
2. Powder Melt Texture & Cure Uniformity
Slide the gang sheet out and examine the coated reverse side Under direct light. The dried hot-melt powder should present a uniform, semi-gloss "orange peel" texture. Run your clean, dry thumb lightly across the adhesive backing. If the backing feels gritty like fine beach sand, the powder is Under-baked. Under-cured powder results in patchy Transfers that release prematurely from fabric threads. Conversely, if the back looks glassy, brittle, or completely flat, excessive heating during drying May have burned off essential adhesives. Properly cured DTF powder maintains an even, rubbery sheen across both dense graphic fields and delicate text.
3. Registration & White Underbase Choke
Flip the transfer film over to examine the colored face of the print. In digital transfer workflows, automated heads lay down CMYK inks directly over an opaque white base layer. If registration slips even half a millimeter, an unsightly white halo outlines your design. Look closely at contrasting edges—such as deep red text or dark navy outlines. A clean print features a deliberate choke, meaning the white underbase sits slightly recessed inside the colored outer boundary. If white ink peeks outward or blurs your typography, the design will look amateur once pressed onto black shirts.
4. Fine-Line Detail & Negative Space Retention
Modern branding packages often feature intricate geometric line work, small copyright text, and distressed vintage patterns. Inspect the thinnest elements on your sheet. Did micro-lines (below 0.5 points) hold their shape without breaking or bleeding together? Check the open internal counters of letters like "e", "a", and "o". If ink bleeds into these open spaces, excess powder bridging occurred during manufacturing. When excess powder bridges open gaps, those windows fill with cloudy glue during heat pressing, ruining your graphic sharpness.
5. Release Film Integrity & Oil Residue
Gently arc the PET film in your hands and inspect the unprinted carrier clear zones. High-grade hot-melt processes leave the carrier sheet crisp, clear, and tack-free. If You detect slick oily films, sticky blotches, or cloudy moisture rings around the graphics, plasticizer migration or unevaporated glycol humectants have contaminated the surface. Pressing oily film onto polyester or nylon fabrics will permanently stain the surrounding weave with an indelible ring. Wipe a white lint-free cloth across an open patch of clear film; it should pull away perfectly dry.
6. UV Sticker Adhesive Tack & Lamination Layer
UV DTF Stickers follow distinct manufacturing parameters compared to garment films. They use an aggressive pressure-sensitive adhesive combined with an instant UV-cured ink layer and a protective clear masking film. When inspecting UV Stickers, check the laminate surface for air bubbles, silvering, or delamination creases. Use your thumbnail to peel back an off-cut corner or sacrificial margin. The adhesive should pull cleanly away from the backing liner without stringing, stretching unevenly, or lifting dried ink fragments. Stable UV Transfers feature crisp hard ink surfaces that resist scratching while bonding tenaciously to smooth hard substrates.
7. Dimensional Accuracy & Gang Sheet Scale
Place your steel shop ruler directly across the master dimensions of your gang sheet. Measure the total sheet width, total length, and a standard five-inch chest crest graphic within your layout. Graphic artwork files occasionally suffer unexpected vector scaling or DPI interpretation bugs during prepress ripping. Confirming that your 11.5-inch full-front artwork measures precisely 11.5 inches saves You from printing seventy undersized promotional shirts. Five seconds with a physical ruler eliminates costly surprises.
| Inspection Point | Target Standard | Rejection Trigger | Production Impact |
|---|---|---|---|
| Adhesive Melt | Uniform orange-peel sheen | Sandy grit or burned brittle gloss | Severe wash-out failure |
| Registration | Zero white bleed past color edge | White halo exceeding 0.3mm | Visible borders on dark shirts |
| Film Surface | Dry, clean, clear carrier | Oily film or chemical sweat | Heat stains on fabric blanks |
| UV Lamination | Smooth, bubble-free film | Lifting edges or carrier tunnel bubbles | Torn Stickers during customer peel |
| Graphic Scale | Matches vector art 1:1 | Deviation greater than 1.5% | Distorted apparel placement |
What Should You Do If a Transfer Fails Inspection?
Discovering an issue during your five-minute intake check feels frustrating, but it beats ruining five hundred dollars in blank inventory. Treat intake failure as an orderly standard operating procedure. Stop your team from cutting up the gang sheet, as separating individual designs makes tracking production batch stamps harder.
Follow this rapid remediation process:
- Isolate the Shipment: Keep the suspect gang sheets flat in a clean, temperature-controlled environment away from heat sources.
- Capture Micro and Macro Photos: Take a wide photo showing the full sheet with its order packaging slip visible. Next, take high-resolution macro shots of the specific defect—such as an un-melted patch of powder or registration halo—held beside a ruler for scale.
- Perform a Single Sacrificial Press: If You suspect slight Under-curing, test press one single graphic onto scrap fabric rather than a production blank. Test peel characteristics and adhesion strength.
- Review Operational Guidance: Check the DTF Nova FAQ page for common Receiving questions to evaluate standard temperature, pressure, and peeling recommendations.
- Notify Support Immediately: Submit your high-resolution images, order numbers, and description through our support channels. Contact DTF Nova for QC support and sample packs so our production crew can review the batch run and resolve the problem promptly.
For additional details regarding manufacturing protocols and industrial standards in digital apparel embellishment, review the comprehensive Textile World guide on digital print quality control. Maintaining objective photo records and batch codes guarantees rapid resolution whenever transit damage occurs.
How Can You Optimize Press Settings Based on QC Findings?
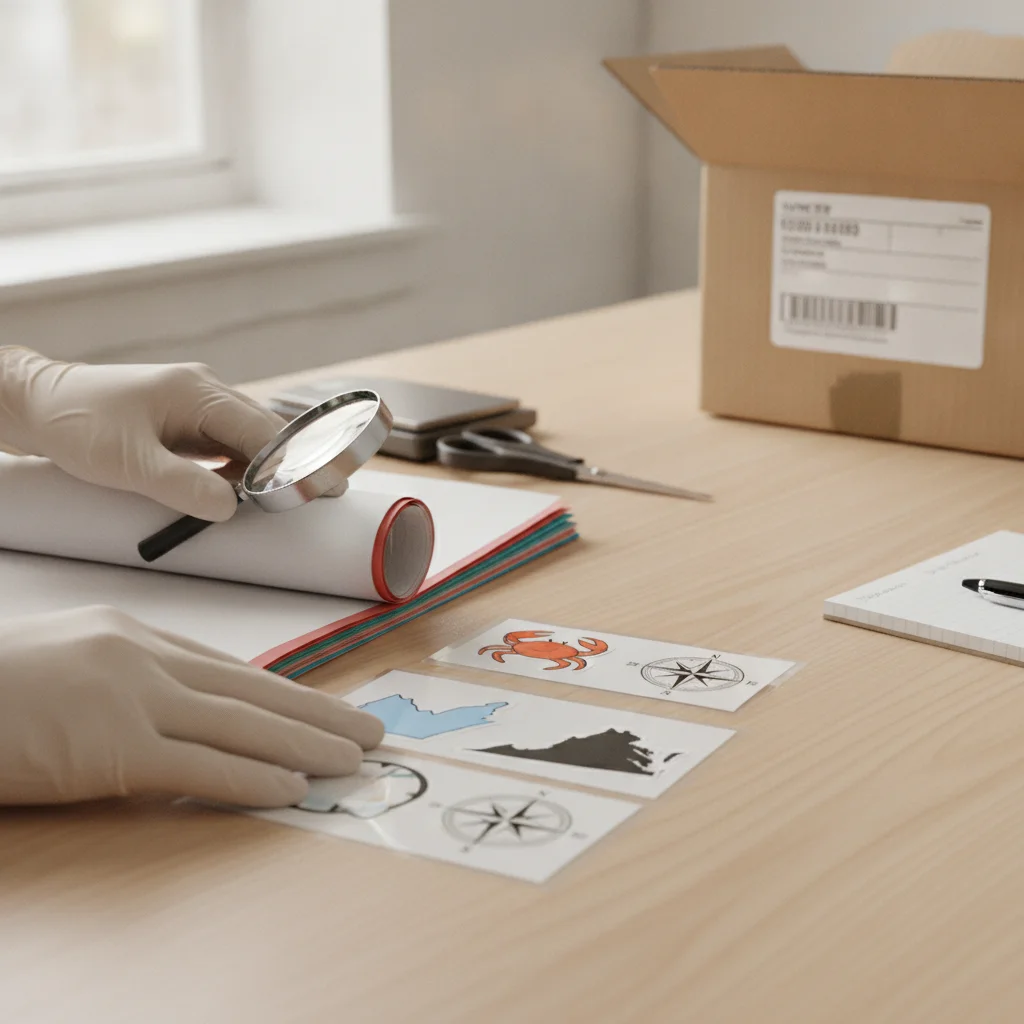
Your visual and tactile Receiving Checks deliver useful feedback regarding how to handle your heat press settings. Standard heat press formulas provide a reasonable starting point, but shop room temperatures and seasonal air shifts call for real-time fine-tuning. DTF Transfers adapt well to minor environmental variances when your press technician pays attention to initial film cues.
If your powder inspection confirms a firm, slightly heavy adhesive coat, your transfer will bond effortlessly to heavy-weight fleece or textured canvas. In that scenario, increase your press dwell time by two seconds to guarantee the adhesive melts deeply into the thick fabric weave. Conversely, if You are decorating lightweight triblends or performance sportswear, excessive dwell time or crushing pressure risks driving the ink through the fibers, producing a rough hand feel.
When working with UV Stickers, inspection tells You whether surfaces require extra pre-cleaning. A firm, glossy UV decal bonds permanently to glass, acrylic, metal, or painted surfaces, provided the target area has no oils or dust. Use an isopropyl alcohol wipe on your target item before pressing the transfer firmly with a felt-edge squeegee. Give the decal sixty seconds of resting time before rolling the carrier sheet back 180 degrees flat against the surface.
Make QC Routine in Your Virginia Shop
Quality control takes very little time. Printing shops that designate a formal Receiving area save substantial time, reduce internal friction, and protect customer relationships. Keep your intake checklist hung directly above your unpackaging table, keep your team accountable, and turn quality verification into second nature.
Frequently Asked Questions
Why is pre-press intake QC necessary if the printer guarantees quality?
Intake QC identifies shipping damage, humidity exposure, or file-scaling discrepancies before You ruin expensive blank garments or client-supplied hard goods. Once heat touches a blank shirt, your production overhead is permanently committed.
How can I tell if a DTF transfer powder is Under-cured?
Under-cured adhesive feels gritty or sandy rather than smooth, and it leaves loose adhesive dust on your fingers when lightly touched. Correctly cured Transfers present a cohesive, orange-peel texture that stays bonded to the film.
What causes white ink borders around colorful DTF graphics?
White outline halos stem from printhead misalignment or insufficient choking (underbase trapping) during film output. Catching this during your visual check prevents You from pressing defective designs onto dark garments.
How do You test UV sticker adhesion without ruining the piece?
Trim a small off-cut or non-essential edge piece, stick it to a clean test surface, and verify instant tack and smooth carrier peeling. This verifies that the pressure-sensitive adhesive layer works properly without wasting valuable client graphics.